- in Makeup by tony
- |
- 2 comments
Foundation Tips

Choosing the right foundation formula for your skin will help you to create the perfect base for the rest of your make-up.
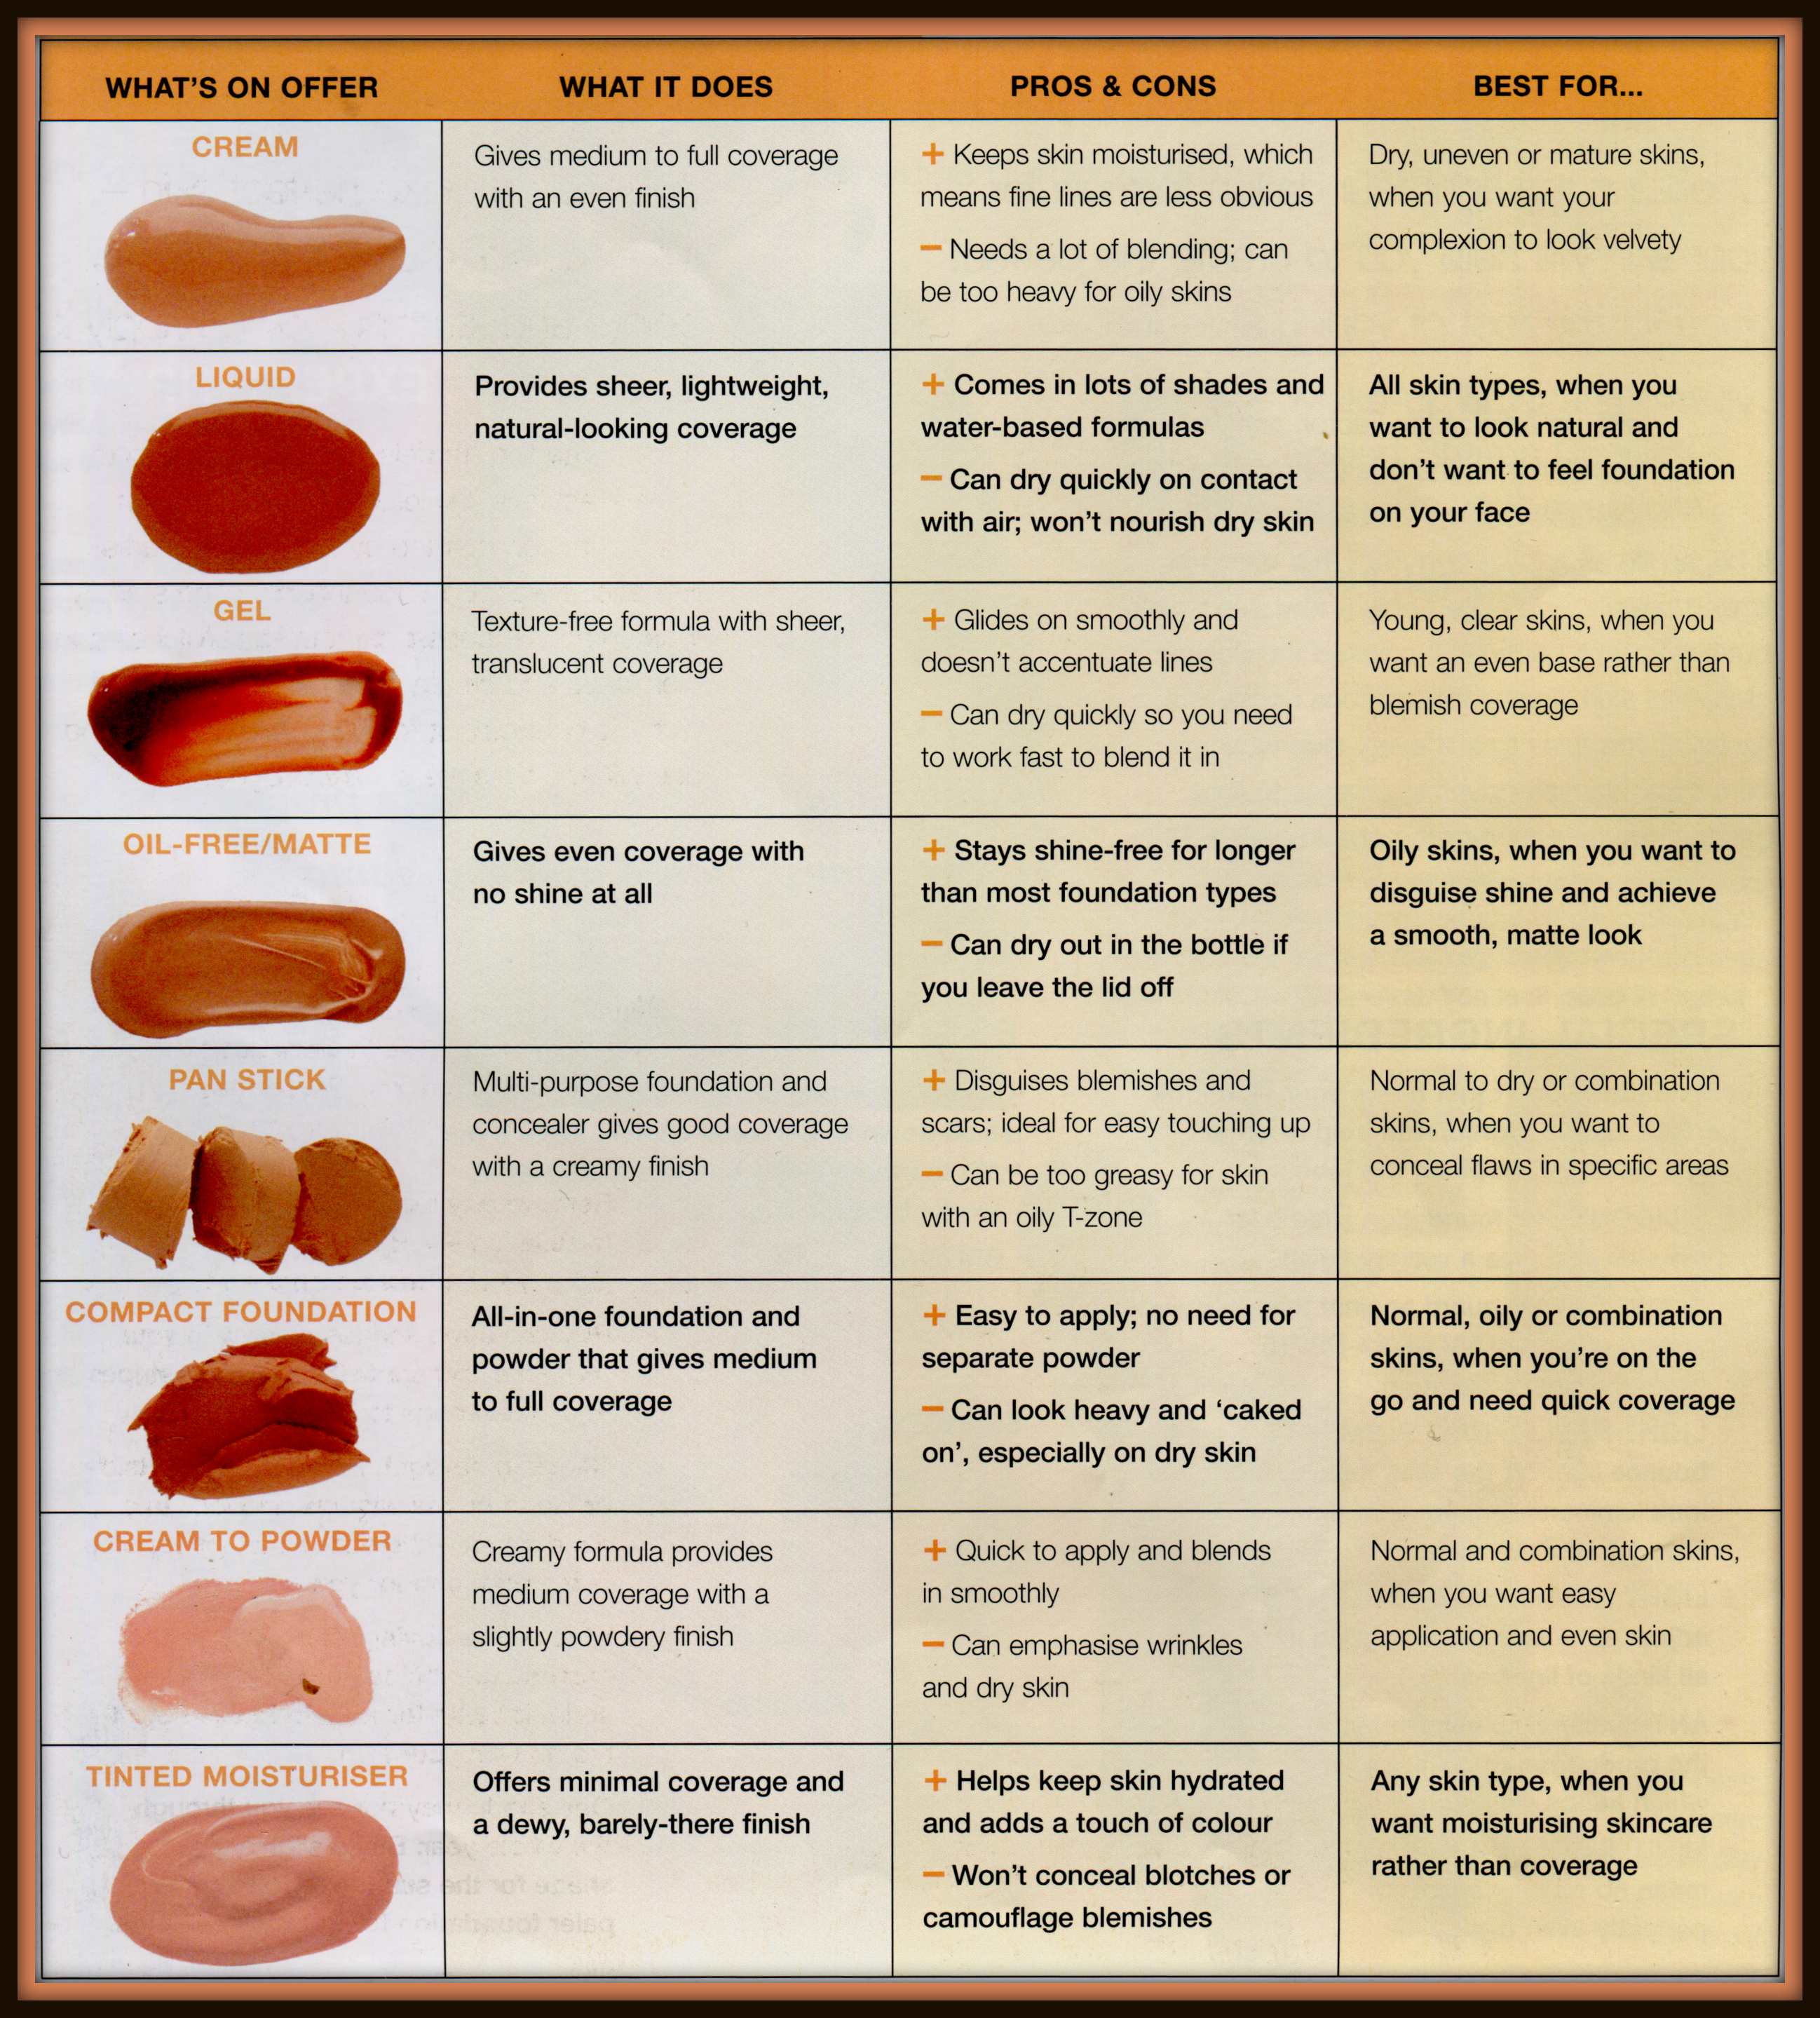
Which foundation is best for you
Make-up artist, Max Factor, created foundation in the 50's to help film stars look flawless on the big screen. It began life as a cake compact that came in limited colours and suited only a few skin types, but it was a hit because it created the illusion of perfect skin. Today, foundations come in a variety of formulas to suit every skin type -from thick blemish-covering creams to light barely-there gels. Check the chart below to find out what's right for you.
More...
Modern foundations can help to protect skin from pollution and sun damage. |
Foundations don't just make your skin look perfect, added ingredients help in other ways. Look for these on the label:
SILICONE let foundation slide over the skin and give a velvety finish.
SUNSCREENS guard against the ageing effects of UV rays - SPF15 gives the best protection
LIGHT REFLECTING PIGMENTS bounce light off the skin, making it look luminous and throwing fine lines into soft focus.
LIGHT RESPONSIVE PARTICLES adjust to make skin look good in all kinds of lighting.
ANTIOXIDANTS help boost the production of collagen, which keeps skin supple.
MINUTE COLOUR PIGMENTS means no streaks and a perfectly even base.
ESSENTIAL TOOLS
There's no wrong or right foundation tool:
-it's all down to personal choice.
Have a go with the three listed below and see what works best for you.
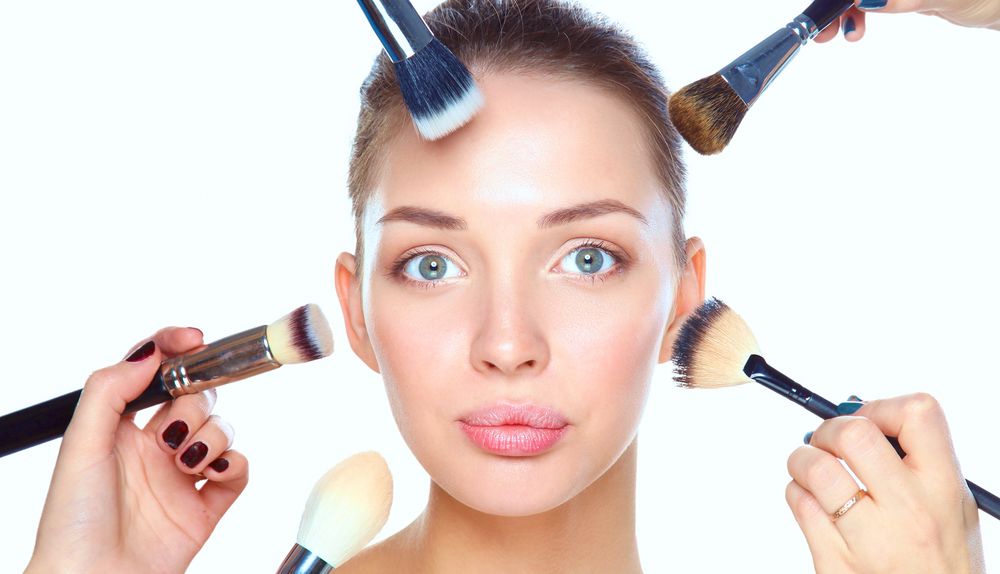
Brushes
Great for applying liquid or cream foundation to give a well-blended but sheer finish. Expensive but, if cleaned regularly, brushes can last for years.

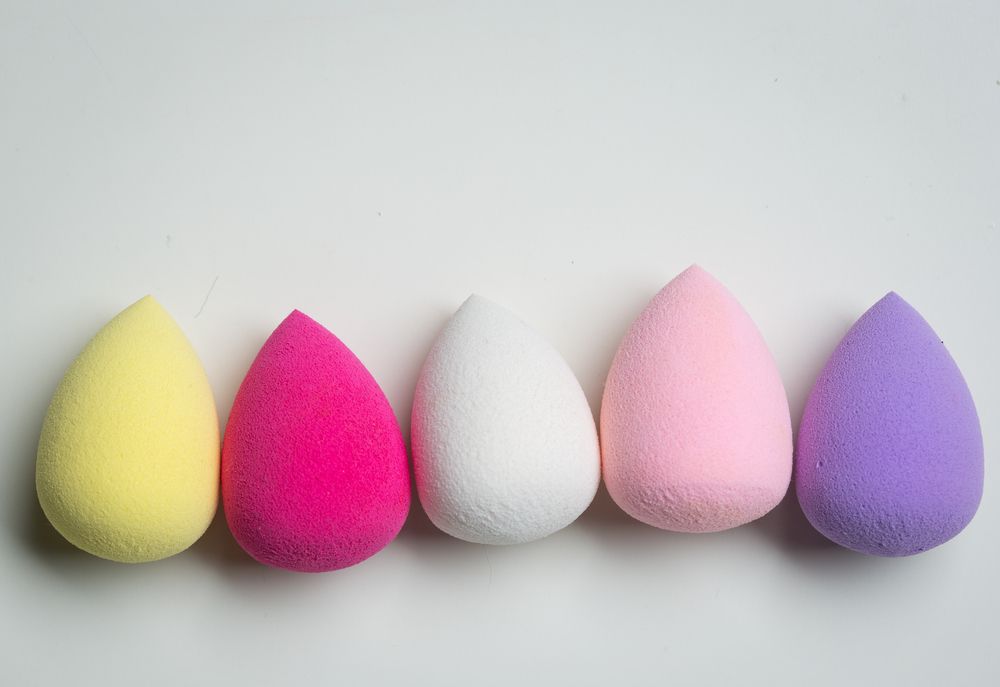
Sponges
Brilliant at blending - good for use with cream, gel, liquid and powder formulas. Wedges reach the awkward areas around the eyes and nose; flat ovals ensure even coverage. Wash in warm water twice a week; replace every two months.

Sponges for applying makeup
Fingers
These warm your foundation up nicely, allowing it to slide on easily and evenly. Great for getting into all those nooks and crannies. Wash before and after application. Last a lifetime!


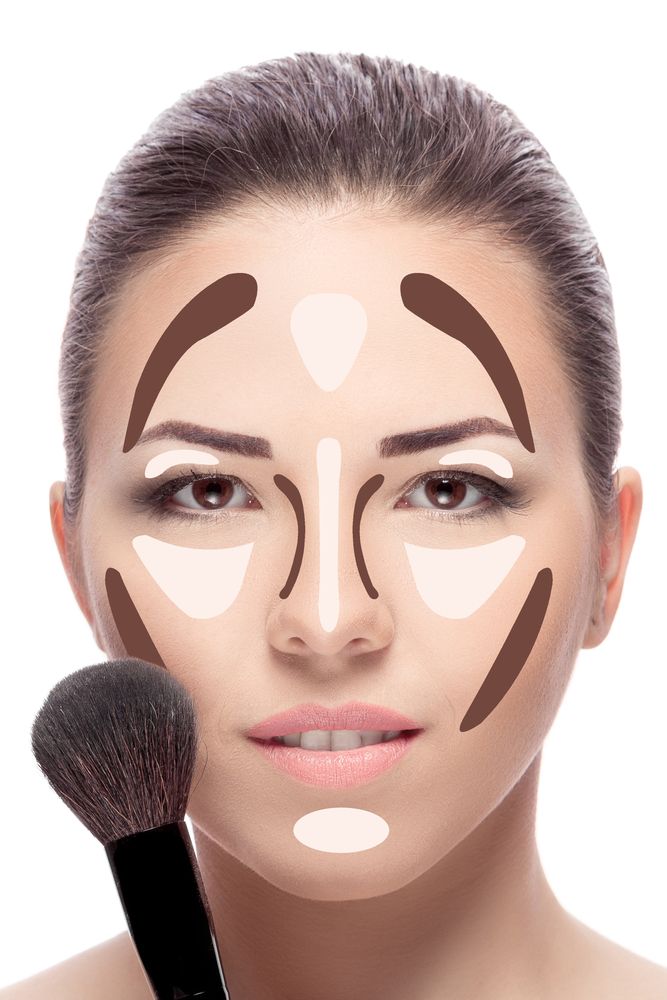
Contour and highlight makeup. Professional Contouring face make-up sample
Anyone can fake perfect skin -it's all down to choosing the right colour and learning how to apply it.
Even top models need a bit of help to achieve flawless skin. Often, it's an illusion created by the make-up artist. Her secret weapon is foundation; used skilfully it can mask tiredness, camouflage blotches and blemishes and create a fresh, even look. And with the right colour, formula and technique, no one will know it's there - except you.
THE RIGHT COLOUR IN FIVE EASY STEPS
Before you visit the beauty counter, remove any existing foundation - you can only judge what works on bare skin.
Pick the three shades closest to your skin tone and apply them in thick stripes from cheekbone to jaw.
Check in daylight. Preferably go outside or stand by the window and look in a hand mirror - the shade that disappears is the right one for you.
Wait before buying. The skin's acidity can change the colour of foundation, so let it settle for a while to see how it reacts with your skin.
One shade may not see you through the whole year. Buy a slightly darker shade for the summer and mix it with paler foundation for in-between times.
There's no point in getting the formula right, if the colour and application is wrong.

Step By Step Foundation
Before you begin, pull your hair back, wash your hands, and cleanse, tone and moisturise your face. Allow the moisturiser to sink in for a few minutes so that the foundation doesn't streak. Place a little on the palm of your hand and use it like a palette. This warms the foundation up to body temperature and means that it slides on more smoothly. Now follow the steps below for a perfectly flawless finish.

Dot foundation onto the forehead, cheeks, chin and nose - use your fingers or a sponge, whichever you prefer. A slightly damp sponge gives a sheer finish and a dry sponge gives fuller coverage.
Blend the foundation outwards across the cheeks, forehead and nose. Fade it out gradually down to the jaw and towards the hairline. Don't blend it upwards - it will clog in your facial hairs and eyebrows.


Concealer On Skin. Corrector Dots Under Eyes.
Use your ring finger (it has a lighter touch than the index finger) to dot concealer around your eyes and gently pat it in. Don't put it on your lids, as it can cause eye shadows and creams to crease.
For a better blended and more even finish, sweep the clean side of a sponge over your face, then do a final check in natural daylight. If you look good in this, you should look good in any light.

Applying Foundation With Sponge

[…] you eat – not just on the inside, but on the outside, too. Eating the right foods can make your face glow in a way that not even the most luxurious beauty treatments can […]
[…] by harsh chemicals, apply over the-counter topical corticosteroids followed by a no irritating moisturizing cream to help the skin […]